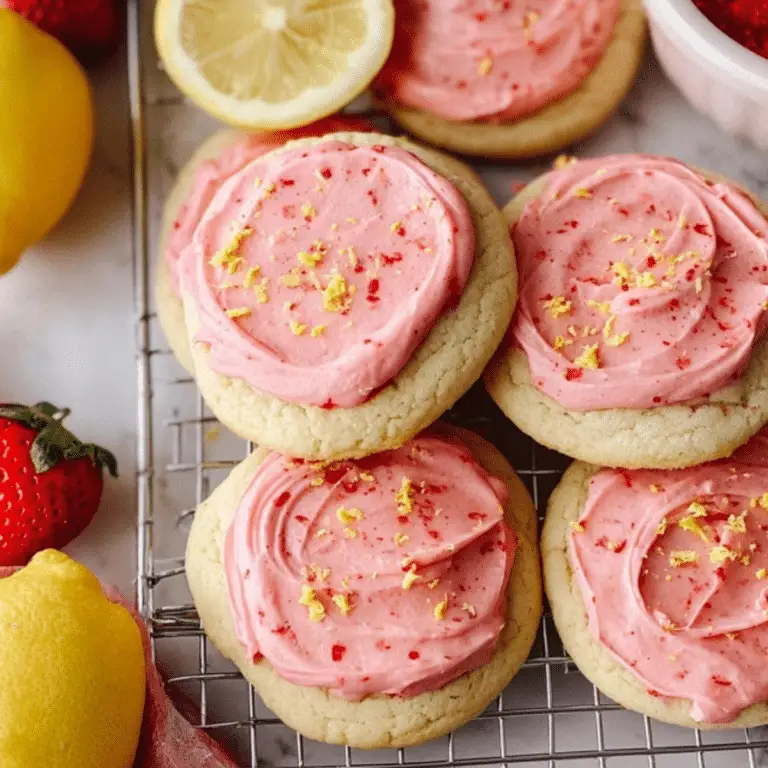
Red Velvet Cupcakes are a showstopper when it comes to both flavor and appearance. These vibrant, rich cupcakes have a soft, tender crumb and a hint of cocoa that’s balanced by a luscious cream cheese frosting. Whether you’re preparing for a special occasion or simply craving something indulgent, red velvet cupcakes offer the ideal balance of sweet and tangy flavors. In this guide, we’ll explore how to make these irresistible treats step-by-step, and highlight tips to ensure your cupcakes turn out perfectly every time.

Table of Contents
Why You’ll Love These Red Velvet Cupcakes
Red velvet cupcakes are not only visually striking but also offer a delightful flavor profile that combines the rich taste of cocoa with a slight tang from buttermilk. They’re incredibly moist, with a soft and fluffy texture that melts in your mouth. Thanks to the natural color of the cocoa and the vibrant red hue, these cupcakes are perfect for any celebration. With their versatile taste and easy-to-follow recipe, you’ll want to make these red velvet cupcakes over and over again.
Ingredients for Red Velvet Cupcakes
To create these delicious red velvet cupcakes, gather the following ingredients. Each one plays a crucial role in achieving the perfect texture, flavor, and appearance.
• All-Purpose Flour: Provides structure and texture, helping the cupcakes hold their shape.
• Granulated Sugar: Adds sweetness and contributes to the cupcakes’ moisture.
• Cocoa Powder: Gives the cupcakes a subtle chocolate flavor and darkens the batter.
• Baking Powder and Baking Soda: Ensure the cupcakes rise to perfection.
• Salt: Balances the sweetness and enhances the overall flavor.
• Buttermilk: Adds moisture and a tangy flavor, essential for red velvet cupcakes.
• Vegetable Oil: Helps create a moist texture and keeps the cupcakes soft.
• Eggs: Provide structure and help bind the ingredients together.
• Red Food Coloring: Provides the iconic vibrant red color that defines red velvet cupcakes.
• Vanilla Extract: Adds a hint of vanilla to complement the other flavors.
• White Vinegar: Reacts with the baking soda to help the cupcakes rise and tenderize the crumb.
• Cream Cheese: Forms the base for the delicious frosting.
• Powdered Sugar: Sweetens the frosting and helps it set to a perfect consistency.
• Vanilla Extract (for frosting): Adds a touch of warmth and richness to the cream cheese frosting.
Alternative Ingredient Suggestions
If you’re looking to adjust the recipe, here are some alternative ingredients you can try:
• Gluten-Free Flour: Swap for all-purpose flour to make the cupcakes gluten-free.
• Greek Yogurt: You can substitute buttermilk with Greek yogurt for a thicker, creamier texture.
• Dairy-Free Cream Cheese: For a dairy-free option, use a plant-based cream cheese alternative in the frosting.
• Natural Food Coloring: If you prefer to avoid artificial dyes, try using beetroot juice to naturally color your red velvet cupcakes.
Step-by-Step Instructions for Perfect Red Velvet Cupcakes
- Preheat the Oven: Begin by preheating your oven to 350°F (175°C). Line a cupcake tin with paper liners and set it aside.
- Mix Dry Ingredients: In a medium-sized bowl, whisk together the all-purpose flour, cocoa powder, baking powder, baking soda, and salt. Set this mixture aside.
- Combine Wet Ingredients: In a large bowl, beat the sugar and vegetable oil together until light and fluffy. Add the eggs, one at a time, beating well after each addition. Stir in the vanilla extract and red food coloring.
- Add Buttermilk and Vinegar: Mix the buttermilk and white vinegar into the wet ingredients, ensuring they are well combined.
- Incorporate Dry Ingredients: Gradually add the dry ingredients to the wet mixture, alternating with the buttermilk mixture, beginning and ending with the dry ingredients. Mix until just combined.
- Fill Cupcake Liners: Divide the batter evenly among the prepared cupcake liners, filling each about two-thirds full.
- Bake: Bake the cupcakes in the preheated oven for 18–22 minutes, or until a toothpick inserted into the center comes out clean.
- Cool: Allow the cupcakes to cool in the tin for 5 minutes, then transfer them to a wire rack to cool completely before frosting.

Tips & Tricks for Perfect Red Velvet Cupcakes
• Don’t Overmix the Batter: To keep the cupcakes light and fluffy, mix the batter until just combined. Overmixing can lead to dense cupcakes.
• Check Oven Temperature: Oven temperatures can vary, so start checking your cupcakes around the 18-minute mark to prevent overbaking.
• Room Temperature Ingredients: Make sure your eggs, buttermilk, and cream cheese are at room temperature to avoid lumps and ensure a smooth batter and frosting.
• Don’t Skip the Vinegar: The vinegar reacts with the baking soda to help the cupcakes rise and maintain a tender texture, so don’t omit it.
Pairing Ideas and Variations
While red velvet cupcakes are delicious on their own, here are a few ideas for pairing them or adding a twist:
• Pair with Fresh Berries: Serve your cupcakes with fresh raspberries or strawberries for a refreshing contrast.
• Spicy Red Velvet: Add a pinch of cinnamon or cayenne pepper to the batter for a spicy kick.
• Chocolate Drizzle: Top the cupcakes with a rich chocolate ganache for an extra indulgent treat.
• Mini Cupcakes: Make bite-sized versions of these red velvet cupcakes for parties or gatherings.
• Storage Tips: Store leftover cupcakes in an airtight container at room temperature for up to three days or refrigerate them for longer freshness.
Healthier Alternatives for Red Velvet Cupcakes
If you’re looking to make a lighter version of these classic cupcakes, you can try the following swaps:
• Use Coconut Oil: Replace vegetable oil with coconut oil for a healthier fat alternative.
• Substitute Sweeteners: Use honey or maple syrup in place of refined sugar for a more natural sweetness.
• Use Whole Wheat Flour: For a slightly denser, healthier option, swap half of the all-purpose flour with whole wheat flour.
Conclusion
Red velvet cupcakes are a delightful treat that combines rich flavor, tender texture, and a stunning visual appeal. By following this step-by-step guide, you can make these cupcakes easily at home and impress your friends and family with your baking skills. Whether you’re making them for a special event or just as a sweet treat, these cupcakes are sure to satisfy your cravings.
FAQ
Can I make red velvet cupcakes without food coloring?
Yes, you can! While food coloring is what gives red velvet cupcakes their iconic color, you can skip it if you prefer a more traditional chocolate cupcake. The texture and taste will remain the same, but the cupcakes will be a deep brown color instead of red.
How do I store leftover red velvet cupcakes?
To keep your red velvet cupcakes fresh, store them in an airtight container at room temperature for up to three days. If you want them to last longer, you can refrigerate them for up to a week. Just make sure to let them come to room temperature before serving for the best flavor and texture.
Can I freeze red velvet cupcakes?
Yes, red velvet cupcakes freeze well. After baking, allow the cupcakes to cool completely. Then, wrap them tightly in plastic wrap and place them in a freezer-safe bag or container. They can be stored in the freezer for up to 3 months. Thaw at room temperature before frosting and serving.
More Relevant Recipes
- Cranberry Apple Galette Recipe: A Cozy super Autumn Treat
- Easy Red Velvet Cheesecake Bites Recipe
- Frosted Christmas Brownies: The Ultimate Holiday Treat
Red Velvet Cupcakes

These red velvet cupcakes are soft, fluffy, and full of rich cocoa flavor, complemented by a creamy cream cheese frosting. Perfect for any occasion, they are both visually stunning and incredibly tasty.
- Prep Time: 15 minutes
- Cook Time: 20 minutes
- Total Time: 35 minutes
- Yield: 12 cupcakes 1x
- Category: Dessert
- Method: Baking
- Cuisine: American
- Diet: Vegetarian
Ingredients
- 1 1/2 cups all-purpose flour
- 1 cup granulated sugar
- 2 tablespoons cocoa powder
- 1 teaspoon baking powder
- 1/2 teaspoon baking soda
- 1/4 teaspoon salt
- 1 cup buttermilk
- 1/2 cup vegetable oil
- 2 large eggs
- 1 tablespoon red food coloring
- 1 teaspoon vanilla extract
- 1 teaspoon white vinegar
- 8 oz cream cheese (for frosting)
- 1 1/2 cups powdered sugar (for frosting)
- 1 teaspoon vanilla extract (for frosting)
Instructions
- Preheat your oven to 350°F (175°C). Line a cupcake tin with paper liners.
- In a medium-sized bowl, whisk together the flour, cocoa powder, baking powder, baking soda, and salt. Set aside.
- In a large bowl, beat the sugar and vegetable oil until light and fluffy. Add the eggs one at a time, beating well after each addition. Stir in the vanilla extract and red food coloring.
- Mix in the buttermilk and white vinegar until well combined.
- Gradually add the dry ingredients to the wet mixture, alternating with the buttermilk mixture. Mix until just combined.
- Fill each cupcake liner about two-thirds full with batter.
- Bake in the preheated oven for 18–22 minutes, or until a toothpick inserted into the center comes out clean.
- Allow the cupcakes to cool in the tin for 5 minutes, then transfer them to a wire rack to cool completely before frosting.
- To make the frosting, beat together the cream cheese, powdered sugar, and vanilla extract until smooth and creamy. Frost the cooled cupcakes and enjoy!
Notes
- For a more natural red color, consider using beetroot juice instead of artificial food coloring.
- Ensure your ingredients are at room temperature for the best frosting consistency.
- If you prefer a thicker frosting, add more powdered sugar until the desired consistency is reached.
Nutrition
- Serving Size: 1 cupcake
- Calories: 250
- Sugar: 23g
- Sodium: 180mg
- Fat: 14g
- Saturated Fat: 6g
- Unsaturated Fat: 6g
- Trans Fat: 0g
- Carbohydrates: 31g
- Fiber: 1g
- Protein: 2g
- Cholesterol: 45mg