I remember the first time I tried making a creamy chicken dish. I was short on time, had a hungry toddler pulling at my apron, and all I wanted was a home-cooked meal that didn’t leave me drowning in dishes. That night, I threw together some chicken, garlic, butter, and cream—and something magical happened. The flavor was rich, comforting, and unbelievably simple to pull off. This lemon-free creamy garlic chicken has since become a go-to in my kitchen.
This recipe is a weeknight savior—perfect for anyone craving a quick and healthy meal with minimal effort. It’s keto-friendly, low-carb, gluten-free, and doesn’t require any fancy cooking skills. Plus, it all comes together in one pan in just 15 minutes, which means fewer dishes and more time to enjoy your dinner.
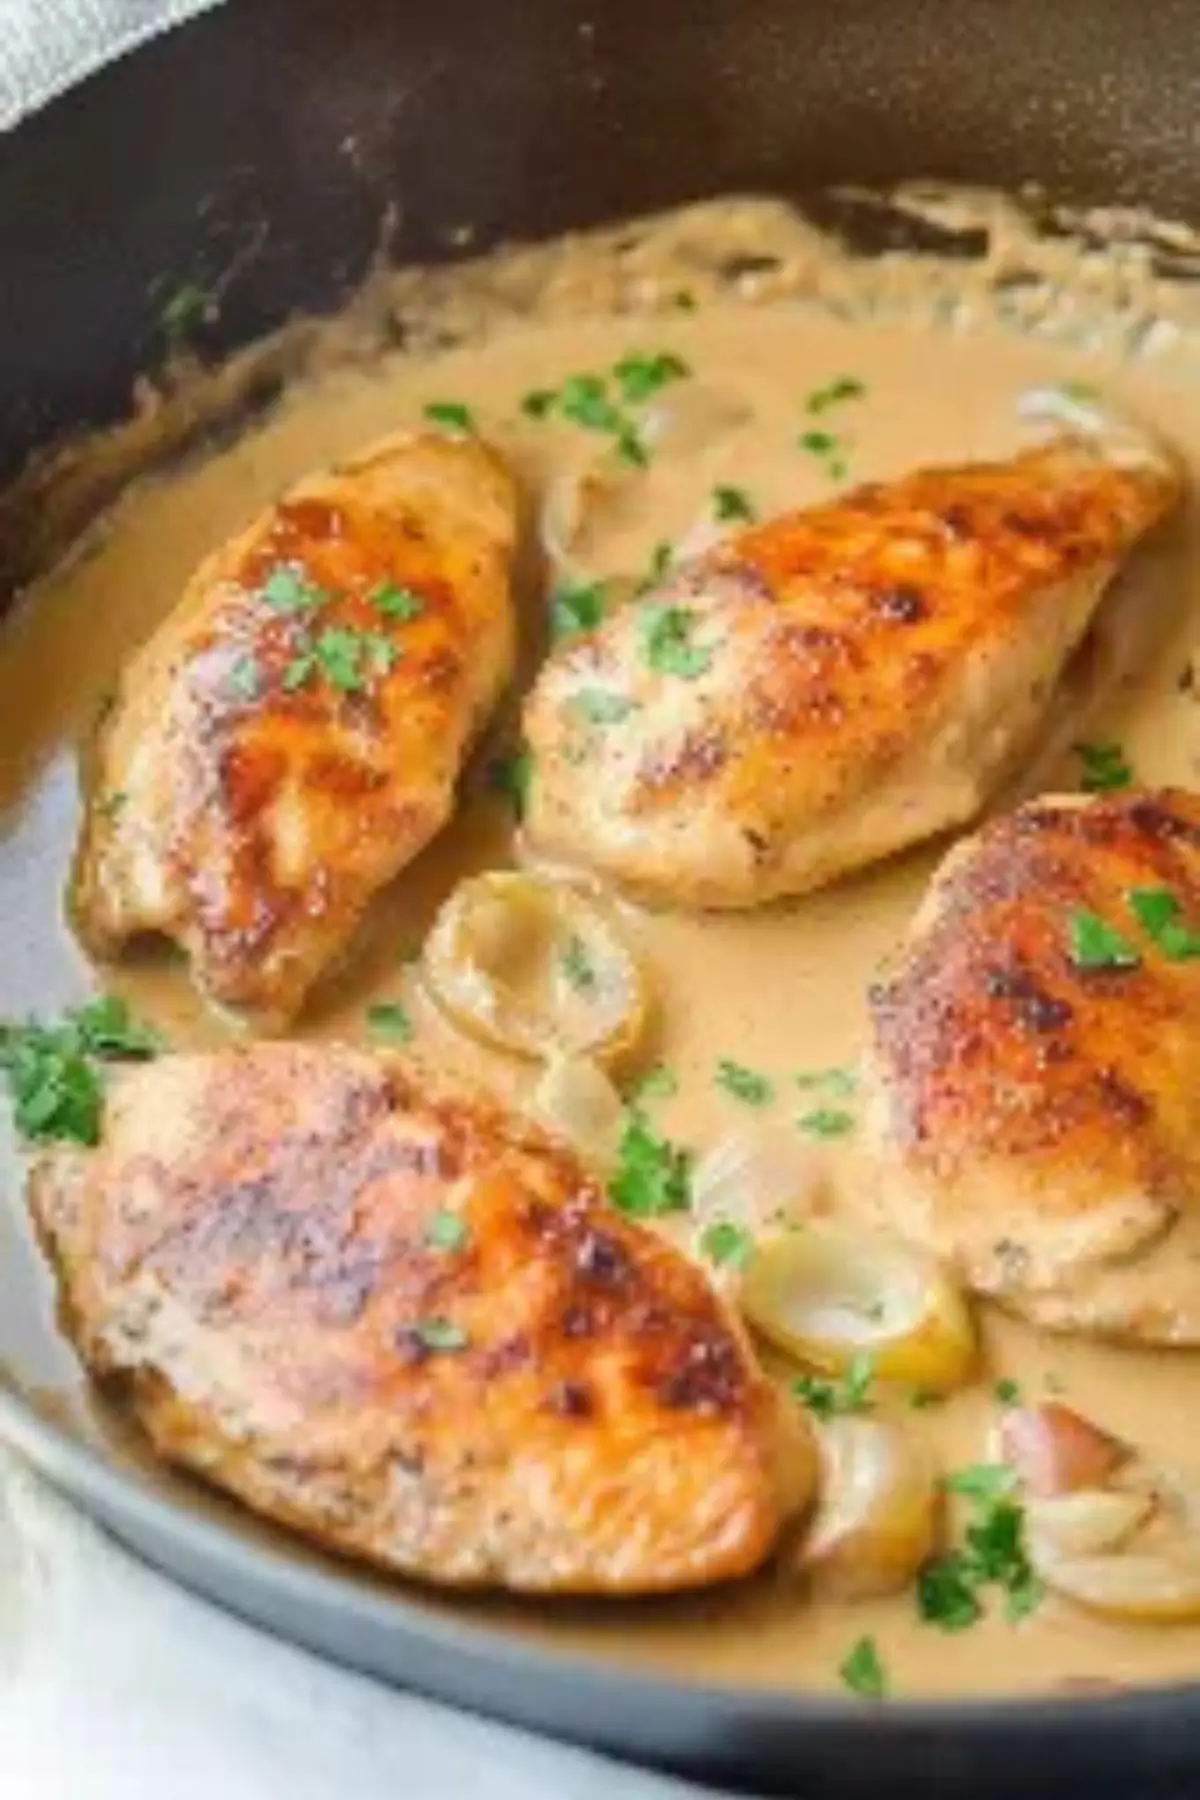
Why This Recipe is Special
What makes this dish stand out is how it transforms just five everyday ingredients into something deeply satisfying. The simplicity is its strength—no pre-made sauces, no complicated techniques, just fresh garlic, cream, and seared chicken. Whether you’re trying to eat healthier, reduce carbs, or just get dinner on the table fast, this easy sheet pan dinner delivers.
Ingredients and Preparation
- Chicken breast: Provides lean protein and a juicy base. Slicing into cutlets speeds up cooking and ensures even doneness.
- Fresh garlic: The hero of this dish. It infuses the sauce with a warm, rich aroma. Always use fresh garlic—jarred or powdered versions won’t deliver the same depth.
- Butter: Adds richness and helps brown the chicken beautifully while giving the sauce a silky finish.
- Heavy cream: Creates the luscious, thick base of the sauce without needing flour—perfect for keto and gluten-free diets.
- Salt and pepper: Enhances the flavor of the chicken and balances the richness of the cream.
Ingredient Alternatives
- Instead of chicken breast, try boneless thighs for more flavor.
- For a dairy-free option, use coconut cream and olive oil.
- Want to add veggies? Toss in mushrooms, spinach, or roasted red peppers during the sauce stage.
- If you’re not on a keto diet, you can deglaze with a splash of white wine or use half-and-half for a lighter sauce.
Step-by-Step Instructions
Step 1: Start by slicing your chicken breasts in half horizontally to create thin cutlets. This helps them cook faster and more evenly. Season both sides with salt and pepper and set aside.
Step 2: Heat a heavy-bottomed skillet over medium heat. Add three tablespoons of butter and let it melt fully. Place the chicken cutlets in a single layer and cook for 4-5 minutes until golden brown.
Step 3: Flip the chicken and cook the other side for another 3-5 minutes, or until the internal temperature reaches 165°F. Remove the chicken from the pan and place it on a plate.
Step 4: Take the skillet off the heat. Add the remaining tablespoon of butter and the minced garlic. Stir constantly for 30 seconds to 1 minute until fragrant—don’t let it burn.
Step 5: Immediately pour in the heavy cream. Use a wooden spoon to scrape up the flavorful browned bits from the bottom of the pan. Return to medium heat and simmer for 1-2 minutes until slightly thickened.
Step 6: Turn off the heat and return the chicken to the skillet. Spoon the sauce over the chicken or toss gently to coat. Garnish with chopped parsley if you like, and serve immediately.
Beginner Tips and Notes
- Avoid burning the garlic: Always have the cream ready before sautéing the garlic. Burnt garlic tastes bitter and can overpower the sauce.
- Use a heavy-bottomed pan: This helps distribute heat evenly and prevents the chicken from scorching.
- Prep ahead: Mince your garlic and slice the chicken before you start. It makes the cooking process smoother.
- Substitute tools: No garlic press? Use a microplane or fine grater. No meat thermometer? Check if the juices run clear when pierced.
Serving Suggestions
To complete this quick and healthy meal, serve with:
- Steamed or roasted vegetables: Broccoli, green beans, or zucchini work great.
- Low-carb sides: Cauliflower rice or mashed cauliflower.
- Classic carbs (for non-keto eaters): Mashed potatoes, pasta, or warm dinner rolls.
- Fresh additions: Tossed green salad or cucumber and tomato salad.
Storage Tips
Store leftovers in an airtight container in the refrigerator for up to 3 days. Reheat gently over low heat or in the microwave, adding a splash of cream or broth to loosen the sauce if needed.
Conclusion
Cooking doesn’t have to be complicated or time-consuming. This one-pan creamy garlic chicken is proof that with just a few ingredients and the right technique, you can make something truly delicious—even on a busy night. If you’re a beginner cook, this recipe is a perfect starting point. Give it a try, and let me know how it turned out for you in the comments. I’d love to hear your variations and favorite ways to serve it!
FAQ About One-Pan Creamy Garlic Chicken
1. Can I use chicken thighs instead of chicken breasts?
Yes, boneless, skinless chicken thighs work great in this recipe. They’re more flavorful and stay juicy, but may require an extra 2-3 minutes of cooking per side.
2. Is this creamy garlic chicken recipe keto-friendly?
Absolutely. It’s naturally low in carbs and high in healthy fats, making it ideal for keto or low-carb diets. Just pair it with non-starchy sides like cauliflower rice or steamed broccoli.
3. How do I know when the garlic is cooked perfectly?
Fresh garlic should be sautéed just until it’s fragrant, about 30 seconds to 1 minute. It should not brown. Have your cream ready to pour in immediately to avoid burning.
More Relevant Recipes
One Pan Creamy Garlic Chicken

A quick and easy one-pan creamy garlic chicken recipe that’s perfect for beginner cooks. Ready in 15 minutes, low carb, keto-friendly, and full of flavor.
- Prep Time: 5 minutes
- Cook Time: 10 minutes
- Total Time: 15 minutes
- Yield: 4 servings 1x
- Category: Dinner
- Method: Stovetop
- Cuisine: American
- Diet: Gluten Free
Ingredients
- 2 chicken breasts, split in half widthwise (approximately 1 pound)
- Salt and pepper, to taste
- 4 tablespoons salted butter, divided
- 5 cloves garlic, peeled and minced
- 3/4 cup heavy cream
- Fresh chopped parsley for garnish (optional)
Instructions
- Cut the chicken breasts in half horizontally to create four thinner cutlets. Season both sides with salt and pepper.
- Heat a heavy-bottomed skillet over medium heat and melt 3 tablespoons of butter.
- Place the chicken cutlets in a single layer and sear for 4-5 minutes. Flip and cook for another 3-5 minutes, or until the internal temperature reaches 165°F.
- Remove the chicken from the skillet and set aside on a plate.
- Take the skillet off the heat, add the remaining 1 tablespoon of butter, and stir until melted. Add the minced garlic and sauté for 30 seconds to 1 minute, just until fragrant.
- Pour in the heavy cream and scrape up any browned bits from the pan with a wooden spoon. Return the skillet to the heat and simmer for 1-2 minutes until the sauce thickens.
- Remove from heat and return the chicken to the skillet. Spoon sauce over the chicken or toss to coat. Garnish with chopped parsley and serve immediately.
Notes
- Use fresh garlic for the best flavor; jarred or powdered garlic won’t deliver the same results.
- Have heavy cream ready before sautéing garlic to prevent burning.
- Slicing chicken into cutlets helps it cook faster and more evenly.
- Deglazing with heavy cream captures the pan’s flavor without needing flour.
- Watch garlic closely—burnt garlic can turn the sauce bitter.
Nutrition
- Serving Size: 1 serving
- Calories: 387 kcal
- Sugar: 1 g
- Sodium: 234 mg
- Fat: 30 g
- Saturated Fat: 18 g
- Unsaturated Fat: 10 g
- Trans Fat: 0.5 g
- Carbohydrates: 3 g
- Fiber: 0.1 g
- Protein: 26 g
- Cholesterol: 153 mg