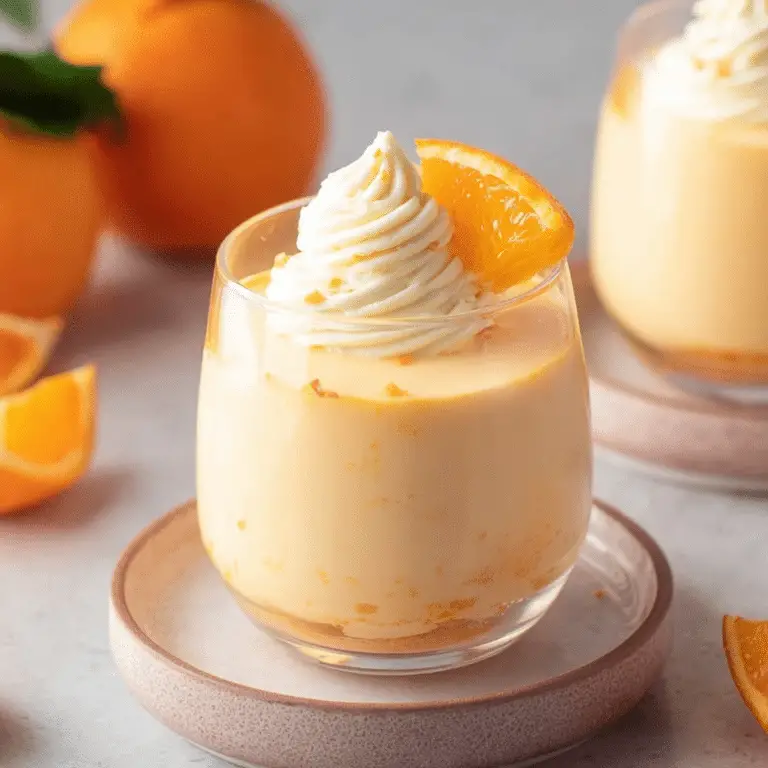
Homemade banana ice cream is the ultimate frozen dessert for banana lovers. Packed with the rich, creamy flavor of ripe bananas, this easy-to-make recipe will quickly become a family favorite. Whether you’re making it for a special occasion or simply craving something sweet, this recipe is sure to please. With simple ingredients like whole milk, sugar, and, of course, bananas, this homemade treat offers a healthier alternative to store-bought versions. Let’s dive into the details on how to make your own homemade banana ice cream!
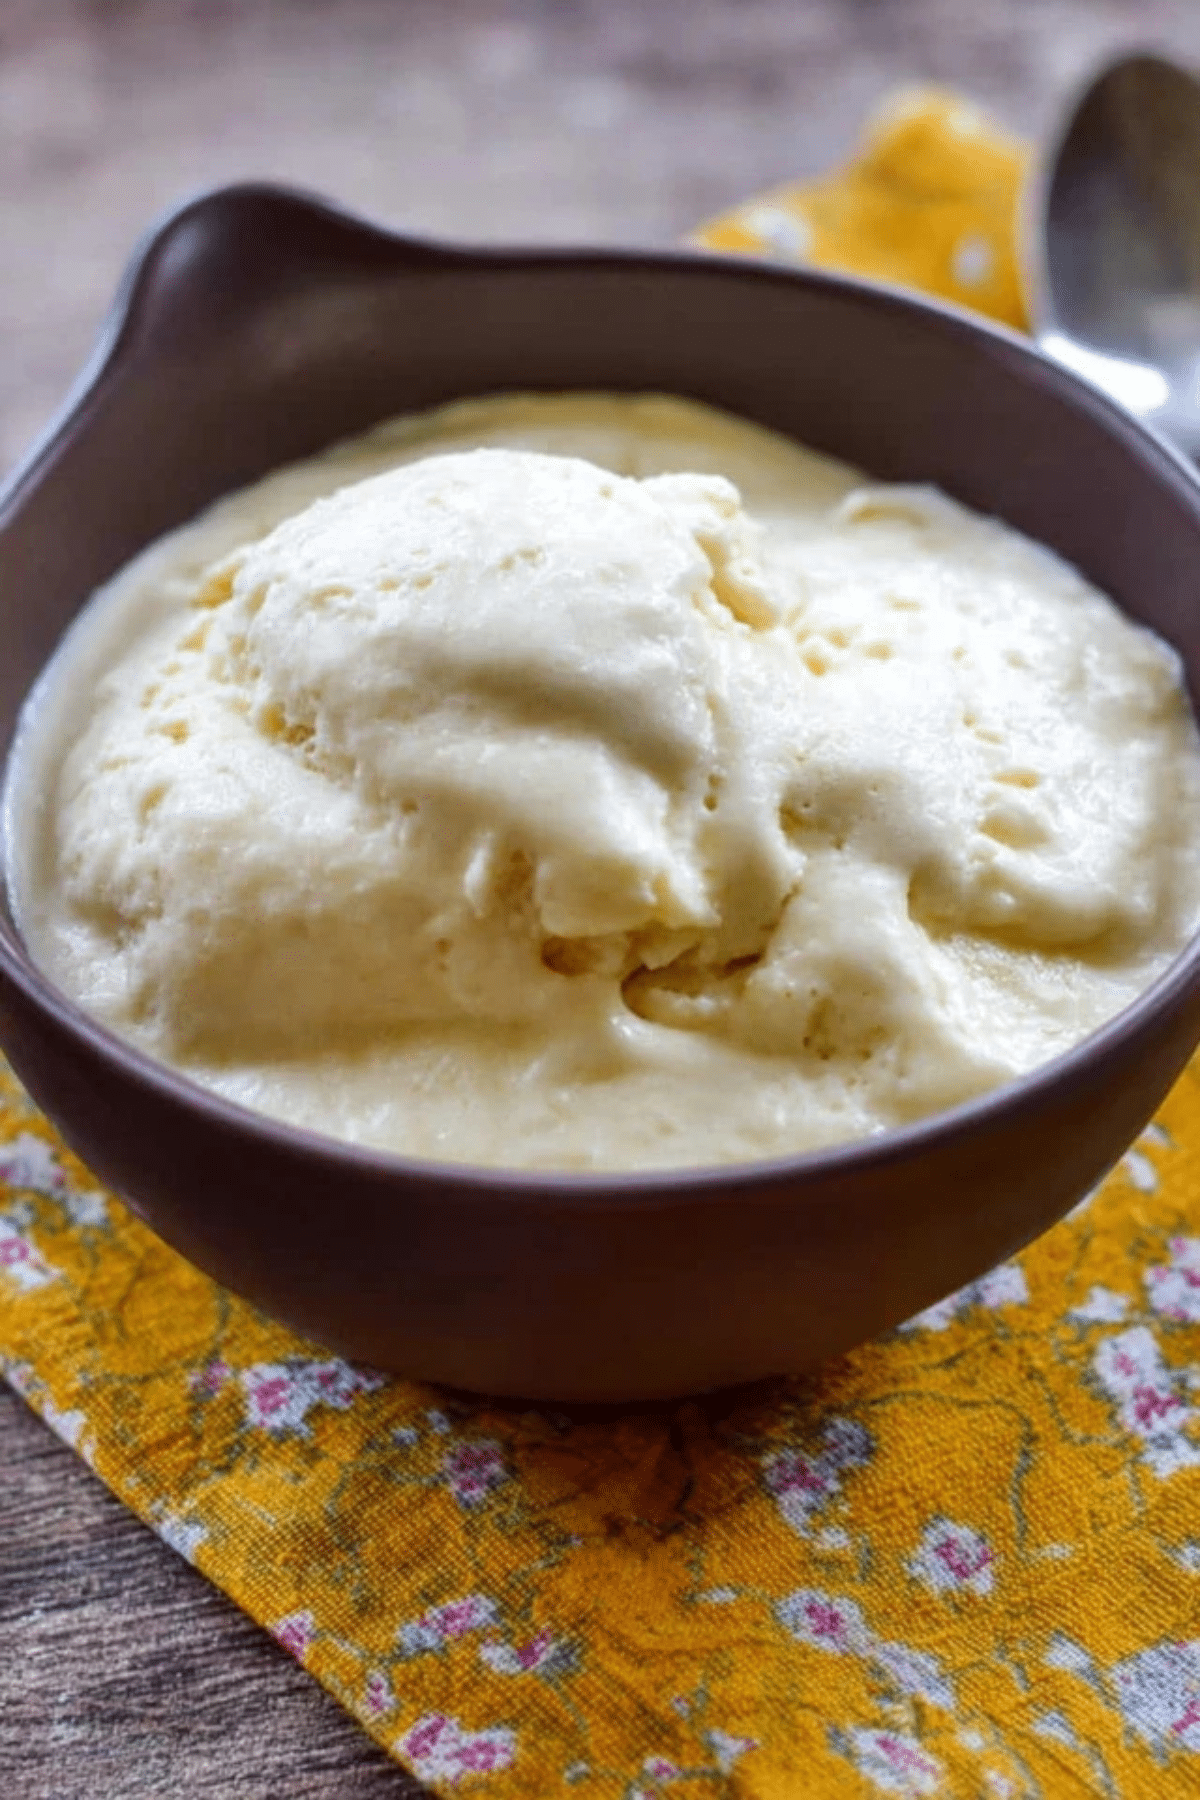
Table of Contents
Why Homemade Banana Ice Cream Is a Must-Try
Homemade banana ice cream stands out for its fresh, vibrant taste and creamy texture. Unlike store-bought varieties that often contain artificial flavors and preservatives, this version uses natural ingredients that enhance the banana’s flavor. It’s quick to make, requires minimal equipment, and doesn’t involve any complicated steps. Plus, it’s a fun, nostalgic recipe that can bring back memories of family gatherings and ice cream socials, much like the ones many of us remember from childhood.
Ingredients for Homemade Banana Ice Cream
To create this delightful dessert, you’ll need a few essential ingredients. Here’s a rundown of what you’ll need:
• Large Eggs: Eggs are the foundation of a creamy, custard-like texture in this banana ice cream recipe.
• Cane Sugar: Adds sweetness to balance out the bananas’ natural flavor.
• Vanilla Extract: Enhances the overall flavor profile and adds a touch of warmth.
• Sweetened Condensed Milk: A key ingredient that gives the ice cream its smooth, rich consistency.
• Evaporated Milk: Adds creaminess and a slightly thicker texture.
• Sea Salt: Just a pinch to enhance the sweet and savory balance.
• Bananas: The star ingredient, providing the signature banana flavor.
• Whole Milk: Helps achieve a smooth and creamy texture; for even creamier results, you can use Half-and-Half.
• Crushed Ice & Rock Salt: Used for freezing the ice cream in your machine.
Alternative Ingredient Suggestions
If you’re looking to make some adjustments based on dietary preferences or what you have on hand, here are a few swaps:
• Egg-Free Version: If you prefer to avoid eggs, you can follow a similar method used in vanilla ice cream recipes, swapping out the eggs for additional milk and using a no-egg custard base.
• Plant-Based Milk: For a dairy-free version, consider using coconut milk or almond milk in place of whole milk and evaporated milk.
• Sweeteners: If you’re looking for a healthier option, try substituting cane sugar with honey or a natural sweetener like Stevia.
Step-by-Step Instructions for Homemade Banana Ice Cream
Making homemade banana ice cream is simpler than you might think. Follow these easy steps:
- Prepare the Base: Start by creaming the eggs and sugar together until smooth.
- Add Flavor: Stir in the vanilla extract, followed by the sweetened condensed milk and evaporated milk.
- Incorporate Bananas: Peel and mash the bananas. Add them into the mixture, stirring until everything is well combined.
- Season: Add a teaspoon of sea salt to bring out the sweetness of the bananas.
- Final Touches: Pour the mixture into the ice cream maker’s canister, leaving room for the ice cream to expand as it freezes.
- Freeze the Mixture: Place the canister in your ice cream maker, secure the lid, and begin churning. Gradually add crushed ice and rock salt around the canister to aid in the freezing process.
- Churn and Serve: Let the ice cream maker run until the motor stops, indicating the ice cream is frozen. Serve immediately or store for later enjoyment.

Tips & Tricks for Perfect Homemade Banana Ice Cream
While the process is straightforward, here are some tips to ensure your banana ice cream turns out perfectly every time:
• Use Ripe Bananas: The riper the bananas, the better the flavor. Overripe bananas have a deeper, richer flavor that will make your ice cream taste even better.
• Avoid Over-Churning: Don’t let the ice cream maker run for too long. Once the motor stops, it’s done! Over-churning can lead to ice crystals, making the texture less creamy.
• Storage Tips: Store leftover banana ice cream in an airtight container to preserve its freshness. It can last up to a month in the freezer.
Pairing Ideas and Variations
Homemade banana ice cream can be easily customized with a variety of toppings and mix-ins to suit your taste:
• Fruit Add-ins: Mix in chunks of chocolate or swirl in some strawberry jam for a fun twist.
• Crunchy Toppings: Add crushed nuts, chocolate chips, or crumbled cookies for texture.
• Vegan-Friendly Version: For a dairy-free alternative, substitute the milk and cream with coconut milk and use a plant-based sweetener.
Why You Should Try Homemade Banana Ice Cream
Homemade banana ice cream isn’t just a treat for the taste buds; it also brings back warm memories of homemade desserts shared with family and friends. The creamy consistency, the natural sweetness of the bananas, and the simplicity of the recipe all make it a perfect addition to any summer gathering or a relaxing evening at home. So, the next time you’re craving something sweet, give this homemade banana ice cream a try — you won’t regret it!
Conclusion: Enjoy Your Homemade Banana Ice Cream
Homemade banana ice cream is a delightful and satisfying treat that brings out the best in simple, wholesome ingredients. Whether you’re looking to enjoy it during the summer months or as a special dessert year-round, this recipe is versatile, easy to make, and sure to impress anyone who loves the rich flavor of bananas. With a few basic ingredients, a little time, and an ice cream maker, you can indulge in a creamy, flavorful dessert that feels like a personal touch from your kitchen. Don’t forget to get creative with mix-ins and toppings to add your own spin on this classic recipe.
So, gather your ingredients, fire up the ice cream maker, and get ready to enjoy a bowl of homemade banana ice cream that’s nothing short of perfection.
Frequently Asked Questions (FAQ)
Can I make homemade banana ice cream without an ice cream maker?
Yes! If you don’t have an ice cream maker, you can still make homemade banana ice cream by placing the mixture in a freezer-safe container. Stir it every 30 minutes to break up any ice crystals, ensuring a smooth, creamy texture. This method may take longer to freeze, but it still yields delicious results.
How do I store leftover banana ice cream?
After making your banana ice cream, store any leftovers in an airtight container. Be sure to place the container in the coldest part of your freezer to prevent freezer burn. It should keep for up to a month, but for the best texture, try to consume it within a few weeks.
Can I substitute the sweetened condensed milk with a non-dairy option?
Yes! For a dairy-free version of homemade banana ice cream, you can substitute sweetened condensed milk with coconut milk or another plant-based alternative. Look for coconut-based sweetened condensed milk for a similar texture and flavor.
More Relevant Recipes
Homemade Banana Ice Cream

Homemade banana ice cream is a creamy, rich dessert made with just a few simple ingredients. This easy-to-make ice cream brings out the natural sweetness and flavor of ripe bananas, creating a delightful frozen treat for any occasion.
- Prep Time: 20 minutes
- Cook Time: 0 minutes
- Total Time: 4 hours (including freezing time)
- Yield: 8 servings 1x
- Category: Dessert
- Method: Ice Cream Maker
- Cuisine: American
- Diet: Vegetarian
Ingredients
- 6 large eggs
- 3/4 cup cane sugar
- 4 teaspoons vanilla extract
- 14 ounces sweetened condensed milk
- 24 ounces evaporated milk
- 1 teaspoon sea salt
- 4 ripe bananas, mashed
- 6 cups whole milk
- 16 cups crushed ice
- 3 cups rock salt
Instructions
- Cream the eggs and sugar together until smooth.
- Add the vanilla extract and mix well.
- Stir in the sweetened condensed milk and evaporated milk.
- Add a teaspoon of sea salt to the mixture.
- Peel and mash the bananas, then add them to the liquid mixture.
- Pour the mixture into the canister of your ice cream maker, filling it about 3/4 full with whole milk.
- Place the canister in the ice cream maker, secure the lid, and start churning.
- Gradually add crushed ice and rock salt around the canister as it churns.
- Allow the ice cream maker to run until it stops, signaling that the ice cream is frozen.
- Remove the lid, take out the churning paddle, and serve immediately or store for later in an airtight container.
Notes
- For a creamier texture, use Half-and-Half in place of whole milk.
- If you don’t have an ice cream maker, place the mixture in a freezer-safe container and stir every 30 minutes to prevent ice crystals.
- Store leftover ice cream in an airtight container for up to a month in the freezer.
- Ripe bananas provide the best flavor and texture for the ice cream.
Nutrition
- Serving Size: 1 scoop (about 1/2 cup)
- Calories: 227 kcal
- Sugar: 28g
- Sodium: 227mg
- Fat: 8g
- Saturated Fat: 5g
- Unsaturated Fat: 3g
- Trans Fat: 0g
- Carbohydrates: 31g
- Fiber: 1g
- Protein: 8g
- Cholesterol: 81mg