Homemade apple jam captures the essence of autumn in a jar. This simple, yet delicious spread combines apples, sugar, and lemon juice to create a versatile treat perfect for toast, pastries, or even glazing roasted meats. With a chunky texture and a perfect balance of sweetness and tartness, homemade apple jam is a comforting preserve you can enjoy all year round.
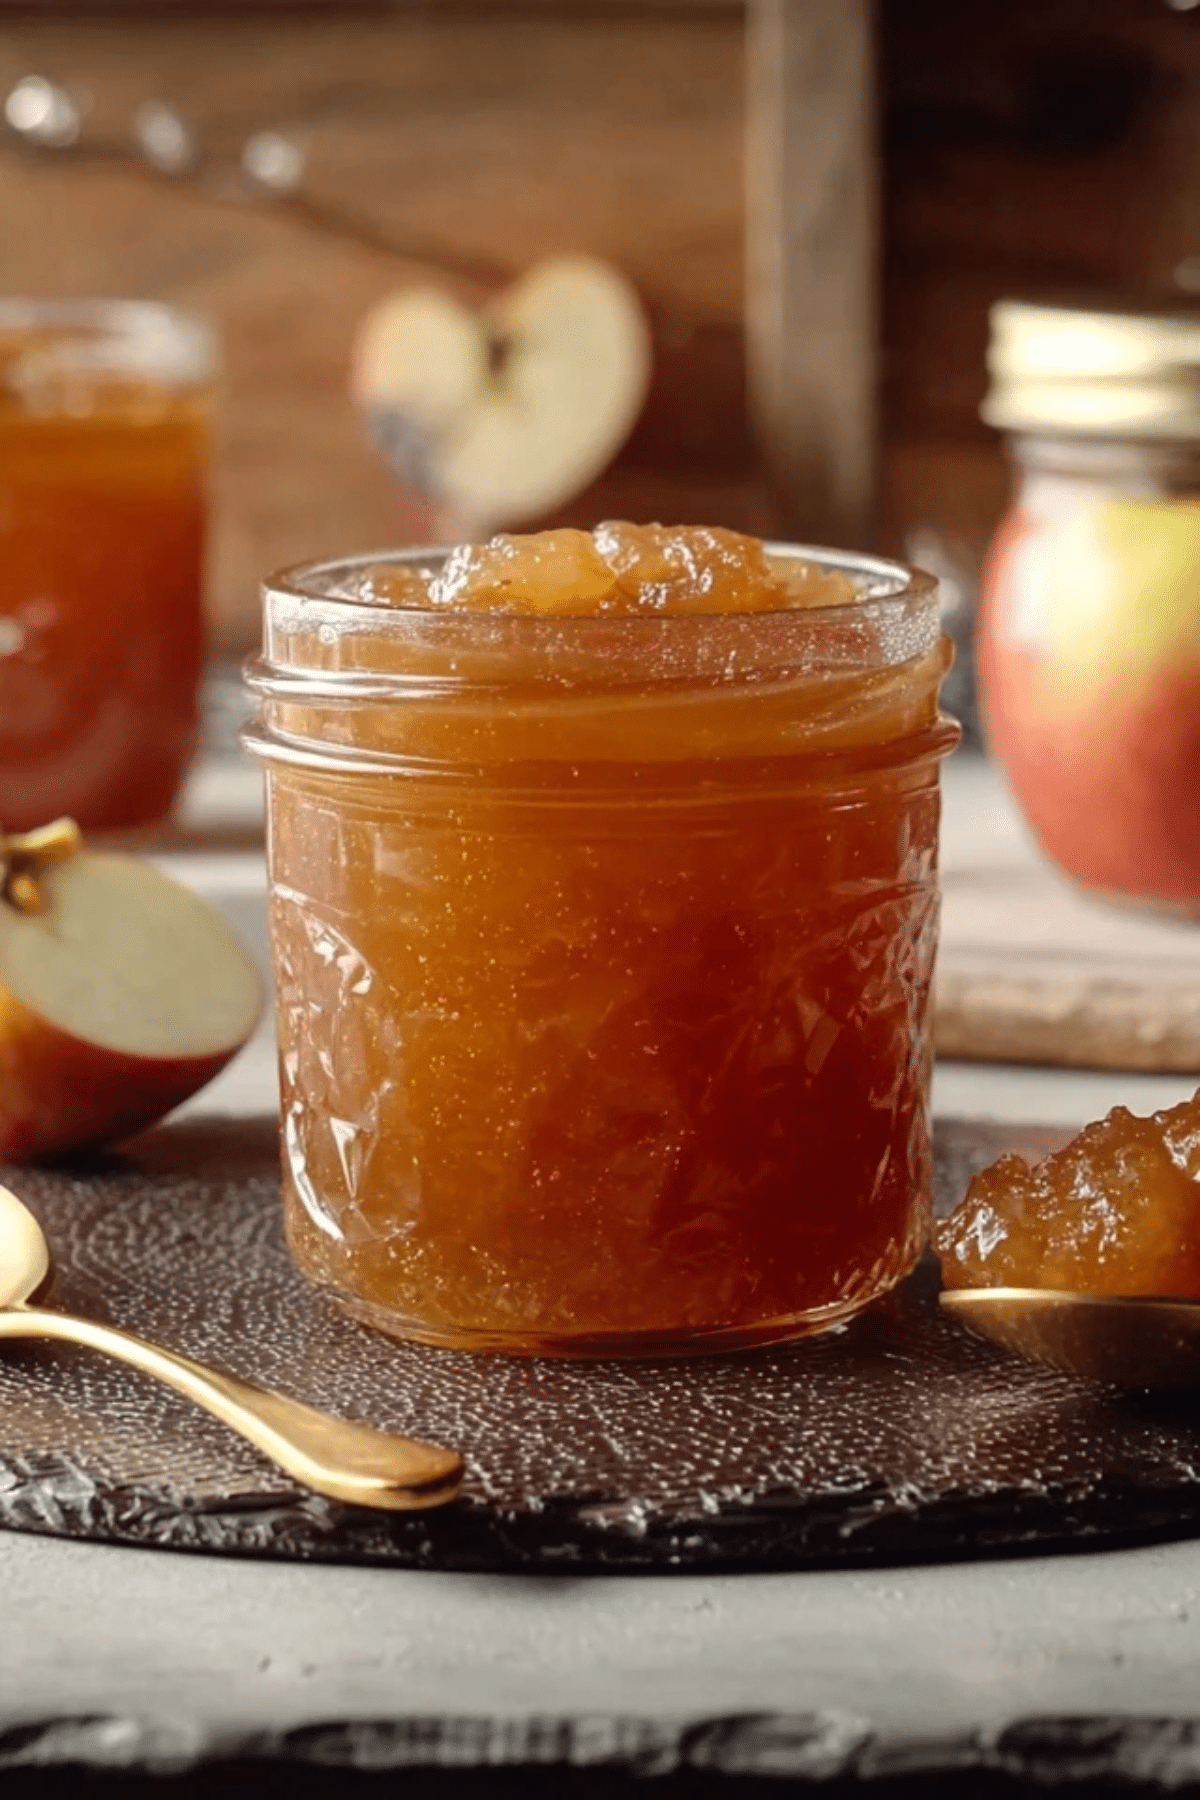
Table of Contents
Why Homemade Apple Jam Is the Perfect Recipe for You
Making your own homemade apple jam is not only rewarding but also incredibly easy. It’s a quick, healthy, and budget-friendly way to enjoy the flavors of fall. The appeal of this jam lies in its rich, natural apple flavor and simple preparation. Unlike store-bought varieties, this homemade jam retains the texture of the fruit, making each bite satisfying and full of warmth. Whether you spread it on toast in the morning or use it as a topping for your favorite dessert, homemade apple jam offers endless possibilities.
Ingredients for Homemade Apple Jam
The beauty of this homemade apple jam recipe lies in its simplicity. With just three basic ingredients, you can create a delicious preserve that’s full of natural flavor.
• Apples: The star of the show, apples provide the natural sweetness and rich flavor for the jam. Their high pectin content helps the jam achieve the perfect gel-like consistency without needing added pectin.
• Sugar: The sweetener that enhances the apples’ natural sweetness, creating a balance of flavors.
• Lemon Juice: Not only does it add a hint of tartness, but it also boosts the jam’s texture by helping with the gelling process. Plus, it adds a fresh zing that complements the sweetness of the apples.
Alternative Ingredient Suggestions for Homemade Apple Jam
If you’re looking to adjust the recipe for dietary preferences or simply want to try a variation, here are a few ideas:
• Honey or Maple Syrup: For a natural sweetener alternative, you can substitute the granulated sugar with honey or maple syrup for a unique twist.
• Cinnamon: For a spiced variation, add a pinch of cinnamon to your apple jam for a warm, cozy flavor that pairs perfectly with fall dishes.
• Pectin: If you want to speed up the gelling process, you can add store-bought pectin. However, it’s not necessary, as apples naturally contain enough pectin for a great jam.
Step-by-Step Instructions for Making Homemade Apple Jam
Making homemade apple jam is easier than you might think! Here’s how you can prepare this delicious treat:
- Prepare the Apples: Begin by peeling, coring, and chopping 4 lbs of apples into 1/4 to 1/2-inch dice. You should have about 16 cups of chopped apples.
- Combine Ingredients: In a large mixing bowl, combine the diced apples with 4 cups of sugar and 1/2 cup of lemon juice. Stir gently to mix.
- Refrigerate the Mixture: Cover the mixture and refrigerate for at least 4 hours, or overnight. This helps the apples release their natural juices and creates the perfect consistency.
- Cook the Jam: After refrigerating, strain the macerated apples to separate the liquid. Reserve the liquid, and pour it into a saucepan. Bring the liquid to a boil over medium-high heat.
- Add the Apples: Once the liquid is boiling, add the strained apple pieces and cook for 20-30 minutes, stirring occasionally to prevent burning.
- Test for Gel Consistency: To test whether the jam has reached the correct consistency, place a small plate in the freezer before cooking. After about 30 minutes of simmering, drop a spoonful of the jam on the cold plate and return it to the freezer for 1 minute. If the jam wrinkles when you push it with your finger, it’s ready.
- Fill the Jars: Once the jam has thickened to your liking, remove it from the heat. Fill sterilized jars with the hot jam, leaving 1/4-inch of space at the top of each jar.
- Seal and Process: Process the jars in a water bath canner, boiling them for 10 minutes, then letting them sit in the hot water for an additional 5 minutes. After removing the jars, let them cool completely and check the seals.

Tips & Tricks for Perfect Homemade Apple Jam
Making homemade apple jam is simple, but here are a few tips to ensure your jam turns out perfectly every time:
• Use a Variety of Apples: Combining different types of apples, such as sweet and tart varieties, will add depth to the flavor of your jam.
• Don’t Skip the Gel Test: The key to achieving the perfect texture is making sure the jam reaches the right consistency. Testing the gel regularly helps prevent overcooking or undercooking.
• Sterilize Your Jars: Always sterilize your jars before filling them with hot jam. This helps prevent any bacterial contamination and ensures the longevity of your jam.
• Store Properly: Once sealed, store the jars in a cool, dark place. They can last for up to a year when properly processed.
Pairing Ideas and Variations for Your Homemade Apple Jam
Homemade apple jam is versatile and pairs well with a variety of dishes. Here are some ideas to get you started:
• Spread on Toast: The classic choice! Serve it on buttered toast for a comforting breakfast or snack.
• Pastry Filling: Use homemade apple jam as a filling for pastries, muffins, or turnovers.
• Topping for Yogurt or Oatmeal: Stir a spoonful of apple jam into your morning yogurt or oatmeal for added sweetness and flavor.
• Glaze for Meats: Apple jam makes a wonderful glaze for roasted meats, especially pork or chicken. The sweet-tart flavor complements savory dishes beautifully.
Make-Ahead and Storage Tips
If you make a large batch of apple jam, it’s easy to store and enjoy later. Simply process the jam in jars and store them in a cool, dry place. Once opened, refrigerate the jam and use it within 3-4 weeks for the best flavor.
Why You Should Try Making Homemade Apple Jam This Season
Making homemade apple jam is a delightful way to embrace the flavors of autumn. Not only is it simple to prepare, but it also provides you with a versatile and healthy treat that you can enjoy all year. With just a few basic ingredients, you can create a jam that’s full of natural flavors and ideal for a variety of dishes. Whether you’re looking for a cozy spread for your morning toast or a glaze for a holiday roast, homemade apple jam is a must-try recipe that’s sure to become a staple in your kitchen.
Conclusion
Homemade apple jam is a delightful, simple way to bring the taste of autumn into your kitchen. Whether you’re spreading it on toast, adding it to baked goods, or using it as a glaze for savory dishes, this recipe is versatile and easy to prepare. The combination of apples, sugar, and lemon juice creates a natural sweetness and rich flavor that will make your kitchen smell as comforting as a fall day. With just a few steps and minimal ingredients, you can preserve the essence of fall in a jar and enjoy the flavors of the season all year long.
Making your own apple jam not only provides a delicious treat but also allows you to customize the flavors to your preference. From adding spices like cinnamon to swapping out sugar for honey, the possibilities are endless. Whether you’re a seasoned jam maker or a beginner, this recipe is perfect for anyone looking to enjoy homemade preserves with minimal effort.
Frequently Asked Questions (FAQ)
How long will homemade apple jam last?
When properly sealed and stored in a cool, dark place, homemade apple jam can last up to a year. After opening, store it in the refrigerator and consume it within 3-4 weeks for the best flavor and quality.
Can I use any type of apple for this jam?
Yes, you can use any variety of apples for this jam. However, a combination of sweet and tart apples will provide the best balance of flavor. Popular options include Granny Smith, Gala, and Fuji apples.
Can I make homemade apple jam without lemon juice?
Lemon juice is essential for the jam’s flavor and texture, as it helps activate the pectin in the apples, ensuring a good consistency. If you don’t have lemon juice, try substituting it with a small amount of citric acid, though the flavor may not be as bright.
More Relevant Recipes
Homemade Apple Jam

Homemade apple jam is a delightful preserve that captures the essence of autumn in a jar. Made with just three simple ingredients—apples, sugar, and lemon juice—this chunky, sweet spread offers the perfect balance of flavors. Whether you spread it on toast, use it as a filling for pastries, or glaze meats, homemade apple jam is a versatile and delicious treat that everyone will love.
- Prep Time: 5 hours
- Cook Time: 1 hour
- Total Time: 6 hours
- Yield: Approximately 6–8 jars (depending on jar size) 1x
- Category: Preserves, Jam
- Method: Boiling, Canning
- Cuisine: American
- Diet: Vegetarian
Ingredients
- 4 lbs chopped apples (about 16 cups when peeled, cored, and diced)
- 4 cups granulated sugar
- 1/2 cup lemon juice
Instructions
- Prepare the apples by peeling, coring, and chopping them into 1/4 to 1/2-inch dice.
- In a large bowl, combine the diced apples, granulated sugar, and lemon juice. Stir gently to mix.
- Cover the bowl and refrigerate the mixture for at least 4 hours or overnight.
- Once ready to cook, strain the macerated fruit, reserving the liquid.
- In a saucepan, bring the reserved liquid to a boil over medium-high heat.
- Add the strained apple pieces into the boiling liquid and cook for 20-30 minutes, stirring occasionally to prevent scorching.
- To check the consistency, place a small plate in the freezer before cooking. Drop a spoonful of jam onto the cold plate, then return it to the freezer for 1 minute. If the jam wrinkles when pressed, it’s ready. If not, continue cooking and test again in 5-minute intervals.
- Once the jam has reached the desired consistency, remove it from the heat.
- Fill sterilized jars with the hot jam, leaving 1/4-inch of headspace at the top.
- Process the jars in a water bath canner by boiling them for 10 minutes, then letting them sit in the hot water for an additional 5 minutes.
- Remove the jars from the water, let them cool completely, and check the seals.
Notes
- Use a combination of sweet and tart apples for the best flavor balance.
- Make sure to refrigerate the apple mixture for the recommended time to help release the fruit’s natural juices.
- If you want a spicier flavor, try adding a pinch of cinnamon during the cooking process.
- Ensure you sterilize your jars before filling them to prevent contamination.
- For an extra smooth texture, you can strain the apples before cooking, but the chunky texture is traditional and adds to the jam’s appeal.
Nutrition
- Serving Size: 1 tablespoon
- Calories: 50
- Sugar: 12g
- Sodium: 1mg
- Fat: 0g
- Saturated Fat: 0g
- Unsaturated Fat: 0g
- Trans Fat: 0g
- Carbohydrates: 13g
- Fiber: 1g
- Protein: 0g
- Cholesterol: 0mg