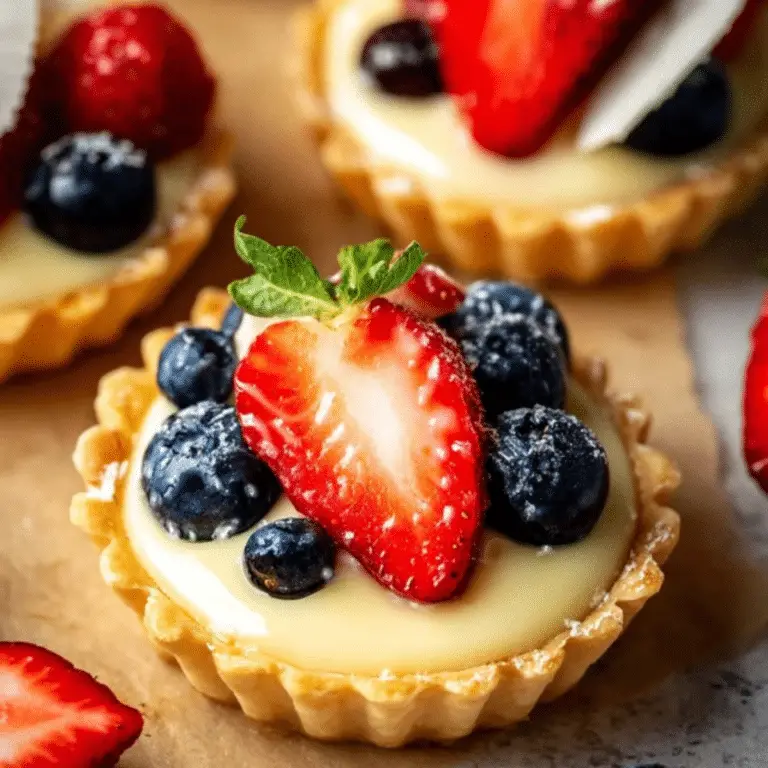
Cherry Crumble Bars are the kind of dessert that combines ease, texture, and irresistible fruity flavor into one handheld delight. With a soft, jammy cherry center tucked between golden layers of buttery crumble, these bars are the perfect balance between a pie and a cookie. Whether you’re baking for a summer picnic, a holiday tray, or a midweek sweet tooth, these Cherry Crumble Bars deliver comfort and flavor in every bite.

Table of Contents
Why Cherry Crumble Bars Are a Must-Bake
Cherry Crumble Bars are more than just easy to make — they’re also incredibly versatile and crowd-pleasing. The buttery crust and crumb topping add richness, while the gooey cherry center brings brightness and natural sweetness. They’re sturdy enough to cut into neat squares for potlucks, bake sales, or lunchbox treats, and can even be made in advance without losing flavor or texture. Plus, you can easily customize them with your favorite fruits or dietary preferences.
What You’ll Need for These Delicious Cherry Bars
Each ingredient in these Cherry Crumble Bars plays a role in creating the perfect texture and flavor. Here’s what you’ll need:
• Unsalted Butter: Provides richness and a tender, crumbly texture to the crust and topping
• All-Purpose Flour: Forms the structure of both the base and the crumble
• Granulated Sugar: Adds sweetness and helps with browning
• Baking Powder: Gives a slight lift to the crust, making it light and soft
• Salt: Balances the sweetness and enhances all the flavors
• Egg: Helps bind the dough and enriches the crust
• Milk: Adds moisture and tenderness
• Fresh Cherries: The star of the filling — sweet, juicy, and naturally vibrant
• Cornstarch: Thickens the cherry filling for a gooey but sliceable consistency
• Vanilla or Almond Extract (optional): Adds depth and bakery-style aroma to the bars
Ingredient Swaps & Smart Substitutions
Whether you’re out of something or baking for a special diet, these Cherry Crumble Bars are super adaptable:
• Flour: Use whole wheat flour for a nuttier flavor or a gluten-free blend to make these bars gluten-free.
• Butter: Substitute cold coconut oil or vegan butter for a dairy-free version.
• Cherries: Swap in frozen cherries (thawed and drained), blueberries, blackberries, or even chopped strawberries.
• Cornstarch: Use all-purpose flour (3 tablespoons) or arrowroot powder in the same amount.
• Milk: Almond, oat, soy, or regular milk all work. Even water can be used if needed — just note the texture may be slightly less rich.
How to Make Cherry Crumble Bars: Step-by-Step Guide
- Preheat and Prep
Preheat your oven to 375°F.
Line an 8×8 or 9×9 baking dish with parchment paper, leaving a 1-inch overhang for easy lifting.
Lightly grease the sides with nonstick spray. - Make the Dough
In a large mixing bowl, whisk together flour, sugar, baking powder, and salt.
Grate cold butter into the bowl, then work it in with your hands until the texture resembles small pebbles.
Add the egg and milk, mixing until the dough comes together and holds when pinched. - Form the Base
Press two-thirds of the dough evenly into the prepared baking dish. Make sure it’s compact and level. - Prepare the Cherry Filling
Lightly mash the cherries until no whole pieces remain.
Drain the cherries through a fine mesh strainer to remove excess liquid.
Mix in the sugar and cornstarch until well combined. - Assemble and Bake
Spread the cherry filling evenly over the crust.
Crumble the remaining dough on top, distributing it evenly to form the topping.
Bake for 32–36 minutes or until the top is golden and edges are slightly browned. - Cool and Slice
Let the bars cool completely in the pan — this helps the filling set and ensures clean slices.
For quicker cooling, place the pan in the fridge for 1 hour.
Slice into squares and enjoy!
Tips for the Best Cherry Crumble Bars Every Time
• Use Cold Butter: Cold butter creates that perfect crumbly texture. Room-temperature butter will make the bars greasy.
• Don’t Overmix: Overworking the dough can activate gluten, leading to a tougher texture.
• Drain the Cherries: Excess juice makes the filling too runny. Always strain your cherries.
• Cool Before Slicing: Rushing this step leads to messy bars. Cooling helps everything set.
• Store Properly: Keep leftovers in an airtight container at room temp for 2 days or in the fridge for up to 5 days.
Serve & Customize: Endless Options for Every Occasion
Cherry Crumble Bars are already a hit, but you can take them to the next level with these pairing and variation ideas:
• Serve with Vanilla Ice Cream: A warm bar and a scoop of ice cream = cherry pie à la mode vibes.
• Add Whipped Cream or Vanilla Sauce: Elevates the dessert for guests or special events.
• Make It Seasonal: Try apples in the fall, raspberries in spring, or peaches in the summer.
• Create a Spiced Version: Add cinnamon, nutmeg, or ginger to the filling for a cozy twist.
• Pack for Picnics: These hold up well and don’t need refrigeration for a few hours.
The Perfect Anytime Treat — Cherry Crumble Bars
Whether it’s cherry season or you’ve got frozen fruit to use up, these Cherry Crumble Bars are your go-to dessert. They’re easy to make, endlessly customizable, and guaranteed to impress. From afternoon tea to holiday dessert trays, this recipe is one you’ll keep coming back to — and so will everyone who tastes them.
A Sweet Ending: Why You’ll Keep Coming Back to Cherry Crumble Bars
Cherry Crumble Bars aren’t just a one-time bake — they’re a recipe you’ll reach for again and again. Their balance of texture, ease of preparation, and classic flavor makes them perfect for every season and occasion. Whether you enjoy them with your morning coffee, as an afternoon pick-me-up, or as a sweet finish to a cozy dinner, these bars deliver big satisfaction with simple ingredients. Their versatility means you can make them your own, and their bakery-quality taste makes them a hit every time. If you’re looking for an easy, fruity dessert that’s impossible to resist, Cherry Crumble Bars are your new go-to.
Frequently Asked Questions About Cherry Crumble Bars
How do I know when Cherry Crumble Bars are done baking?
The bars are ready when the crumb topping turns a light golden brown and the edges begin to brown slightly. You may also see some bubbling around the cherry filling. Bake for 32–36 minutes, and always check the center — it should look set, not jiggly.
Can I make Cherry Crumble Bars ahead of time?
Yes! These bars are make-ahead friendly. You can bake them a day or two in advance and store them in an airtight container at room temperature or in the refrigerator. They even freeze well for up to three months, making them great for meal prep or planning ahead for events.
Can I use canned cherry pie filling instead of fresh cherries?
While fresh or frozen cherries are ideal for the best flavor and texture, canned cherry pie filling can be used in a pinch. Just be aware that it’s already sweetened and thickened, so skip the added sugar and cornstarch in the filling step. The result will be sweeter and more like a classic cherry dessert bar.
More Relevant Recipes
- Cinnamon Roll No Bake Cookies: The Ultimate No-Bake Treat for Quick Sweet Cravings
- Valentine Sugar Cookies: Soft, Sweet, and Perfectly Festive
- Salted Caramel Chocolate Truffles: A Decadent Homemade Treat
Cherry Crumble Bars

These Cherry Crumble Bars are a deliciously easy dessert with layers of buttery crumble and a jammy cherry filling. Perfect for gatherings, lunchboxes, or a sweet treat with your afternoon coffee, they strike the perfect balance between a cookie and a fruit pie.
- Prep Time: 20 minutes
- Cook Time: 36 minutes
- Total Time: 56 minutes
- Yield: 9–12 bars 1x
- Category: Dessert
- Method: Baking
- Cuisine: American
- Diet: Vegetarian
Ingredients
- 1/2 cup chilled unsalted butter (cut into 1/2-inch cubes)
- 2 tbsp milk
- 1/4 tsp salt
- 3/4 cup granulated sugar
- 1/2 tsp baking powder
- 1 egg (large, room temperature)
- 1 3/4 cups all-purpose flour
- 2 1/4 cups fresh pitted cherries
- 2 tbsp cornstarch
- 3 tbsp granulated sugar (for cherry filling)
Instructions
- Preheat the oven to 375°F (190°C). Line an 8×8 or 9×9 inch baking dish with parchment paper, leaving a 1-inch overhang on all sides. Lightly grease the sides with nonstick spray.
- In a large bowl, combine the flour, sugar, baking powder, and salt. Grate the cold butter into the bowl and mix with your hands until the mixture resembles small pebbles.
- Add the egg and milk to the mixture. Stir until a cohesive dough forms that holds together when pinched.
- Press two-thirds of the dough firmly into the prepared baking dish to form an even crust layer.
- In another bowl, mash the pitted cherries slightly with a fork or potato masher. Drain excess liquid using a fine mesh strainer.
- Add the cornstarch and sugar to the cherries and stir until evenly combined.
- Spread the cherry filling evenly over the crust.
- Sprinkle the remaining dough mixture over the top of the cherry filling to create a crumble topping.
- Bake for 32–36 minutes or until the topping is golden brown and the edges are lightly browned.
- Cool completely in the pan before slicing. For faster results, place the pan in the refrigerator for 1 hour.
Notes
- Use cold butter to ensure a crisp, crumbly texture.
- Do not overmix the dough to avoid tough bars.
- Thaw and drain frozen cherries well if using in place of fresh.
- Let bars cool completely before slicing for clean cuts.
- Store leftovers in the fridge for up to 5 days or freeze for up to 3 months.
Nutrition
- Serving Size: 1 bar (estimated)
- Calories: 130–150
- Sugar: 12g
- Sodium: 60mg
- Fat: 7g
- Saturated Fat: 4g
- Unsaturated Fat: 2.5g
- Trans Fat: 0g
- Carbohydrates: 20g
- Fiber: 1g
- Protein: 1.5g
- Cholesterol: 20mg